Procedure
To perform an SDS-PAGE experiment, the following steps must be followed.
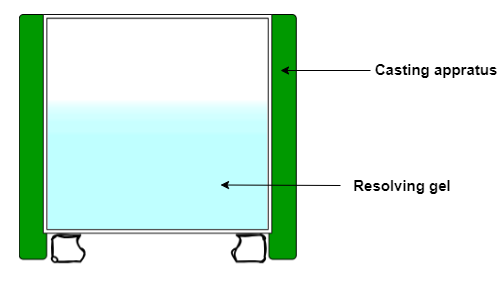
Casting of the SDS-PAGE resolving gel
- Place sandwich of glass plates and spacers on gel-casting stand.
- For one 12% resolving gel, add to a 15 ml tube: 2 ml 30% acrylamide (19:1), 50 μl 10% SDS, 1.3 ml 1.5 M Tris-HCl (pH 8.8), 1.6 ml water
- Add 50 μl 10% APS, 3.5 μl TEMED, mix well
- Pipette the resolving gel solution into the gel-casting sandwich up to the line marked on the plate
- Overlay the gel solution with a layer of 99% isopropanol to prevent oxidation and facilitate polymerization
- Allow the resolving gel to polymerize for 1h
- Rinse top of gel with milliQ water, remove residual water with a kimwipe
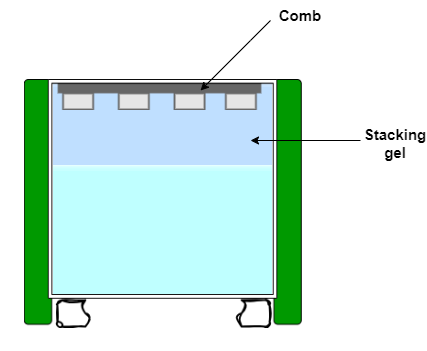
Casting of the SDS-PAGE stacking gel
- For the stacking gel, add to a 15 ml tube: 1.2 ml water, 260 μl 30% acrylamide, 500 μl 0.5 M Tris-HCl (pH 6.8) and 20 μl of 10% SDS
- Add 20 μl of 10 % APS and 3.5 μl TEMED, mix well
- Pipette on top of the resolving gel, filling to top of the plate
- Insert the comb to make wells, avoid bubbles
- Allow polymerization for 30 min
Preparation of the protein samples
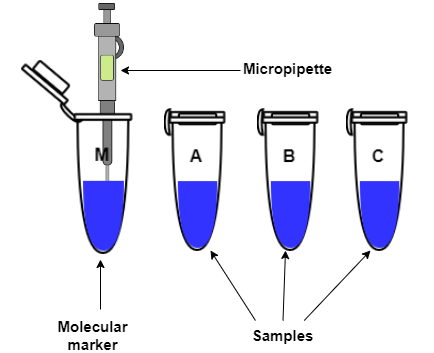
- Dilute the samples with water and add the 4X tracking dye in the ratio 3:1 to get 40-50μL
total sample.
- The protein samples are heated at 95 degree Centigrade for 15-20min, then centrifuged at 11000rpm for
3min before loading into wells of the polyacrylamide gel.
Setting up the apparatus for SDS-PAGE
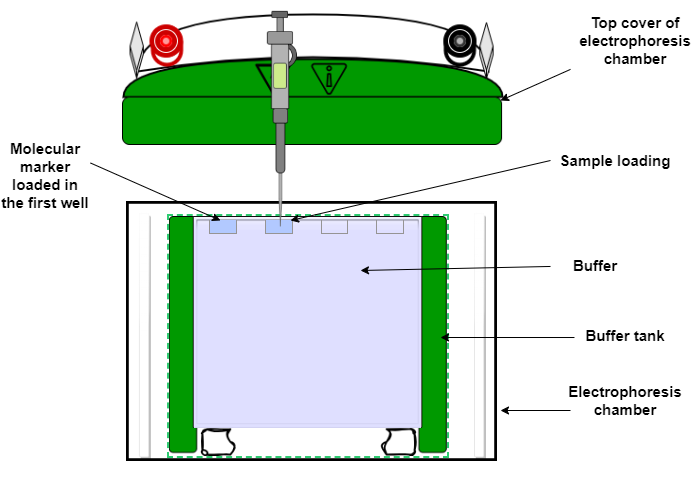
The apparatus must be set up as shown in figure 5, and connected to the power supply.
- Place the polymerized gel into the gel rig
- Add SDS gel running buffer to the upper and lower chambers
- Remove the comb and fill with running buffer

Figure1: Set up of an SDS-PAGE experiment.
Electrophoresis
- Pre-run the gel for better results
- Load the molecular weight marker and samples into the wells using a micropipette with gel loading tips
- Switch on the power supply. For stacking the samples, 80-100V is preferred. For resolving the samples, 100-120V is used, for 1-1.5hrs.
- Run gel until bromophenol blue reaches the bottom of the gel
- Turn off power supply and disconnect the leads
- Discard the running buffer, rinse the gel sandwich in water and separate the plates to access the gel
Staining and visualization
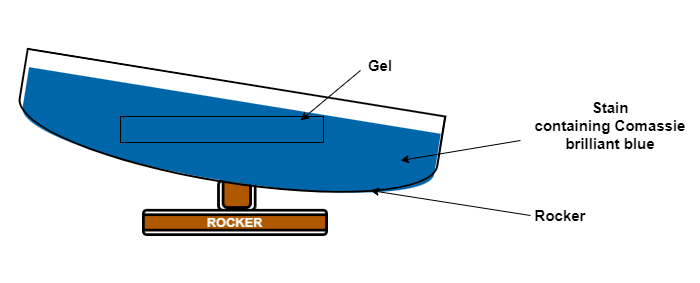
- After washing with water, add stain (containing Coomassie brilliant blue) to the gel. Keep in rocking
condition for 2-3 hrs.
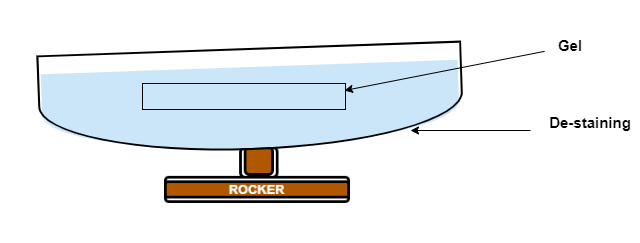
- Then wash off the stain with water and add destain, keep under rocking condition for 4-6 hrs.
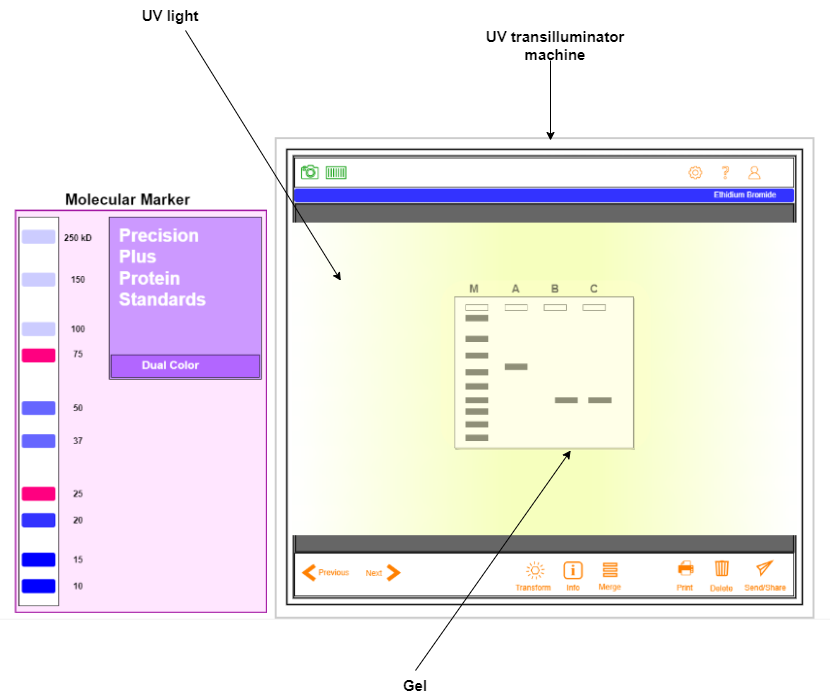
- Visualize under UV transilluminator.
Simulation Instrument Setup
Casting of the SDS-PAGE resolving gel
Casting of the SDS-PAGE stacking gel
Preparation of the protein samples
Setting up the apparatus for SDS-PAGE
- Electrophoresis
Staining
De-staining
Visualization


